Account
The Accounts and Users section in the CookieHub documentation covers all aspects related to managing user accounts and access rights. Here, you can learn how to add new users, change their roles, and modify their account settings. Additionally, this section covers how to manage multiple accounts if you have access to more than one, how to update personal information, and how to enable two-factor authentication to improve the security of your account. Finally, if you have an enterprise subscription, you can learn how to use the audit log and API keys to manage your account and integrate with other systems.
User profile
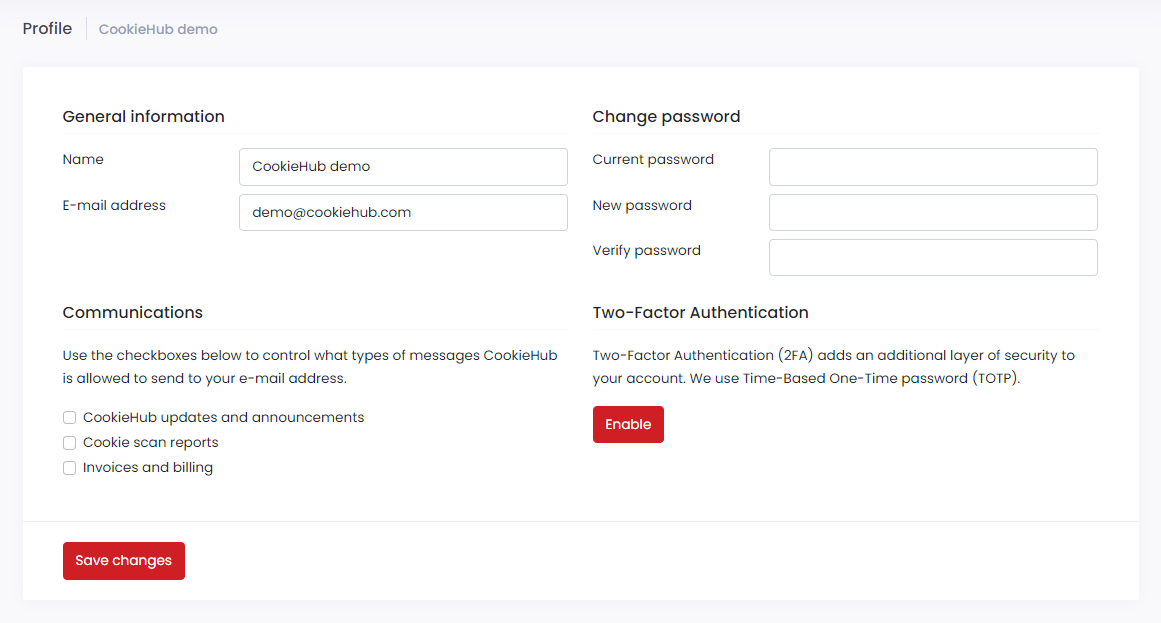
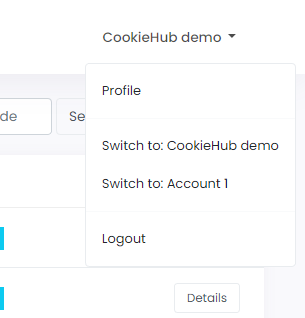
To modify personal information, update password, change communication settings or enable two-factor authentication, click on your name located in the top right corner and select “Profile”. From there, you can edit your personal details, change your password, update your communication preferences, and enable two-factor authentication.
Change password
To update your password, enter your current password in the first password field, then enter the new password and confirm it by clicking the “Save Changes” button. Once you change your password, you will be automatically logged out of the system and will need to log in again with the new password.
Communication options
On the user profile page, you can customize your communication settings by selecting the options for which you want to receive messages.
These options include:
- CookieHub updates and announcements: Receive updates, new feature information, and other relevant information to help maintain your website’s compliance.
- Cookie scan reports: Receive a report on the cookies detected and compliance status after each cookie scan, whether automatically conducted monthly or requested manually.
- Invoices and billing: Receive messages related to billing.
Two-Factor Authentication
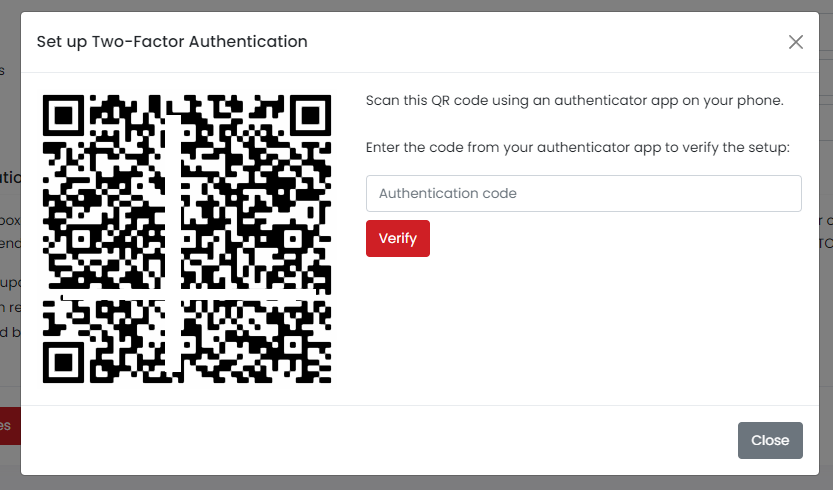
CookieHub supports two-factor authentication to provide an extra layer of security to your account. To enable two-factor authentication, go to your Profile page and click the Enable button in the two factor authentication section. This will bring up a dialog containing a QR code that you can scan using the Google Authenticator app. Once you’ve scanned the code, enter the code that is generated by the app to verify that everything is set up correctly. From then on, whenever you log in to your account, you will need to provide both your password and a one-time code generated by the app in order to access your account.
Switch between accounts
To switch to a different account, first click on your name located in the top right corner of the page. Then, select the account you want to switch to from the drop-down list. This feature is available to users who have access to multiple accounts.
Settings
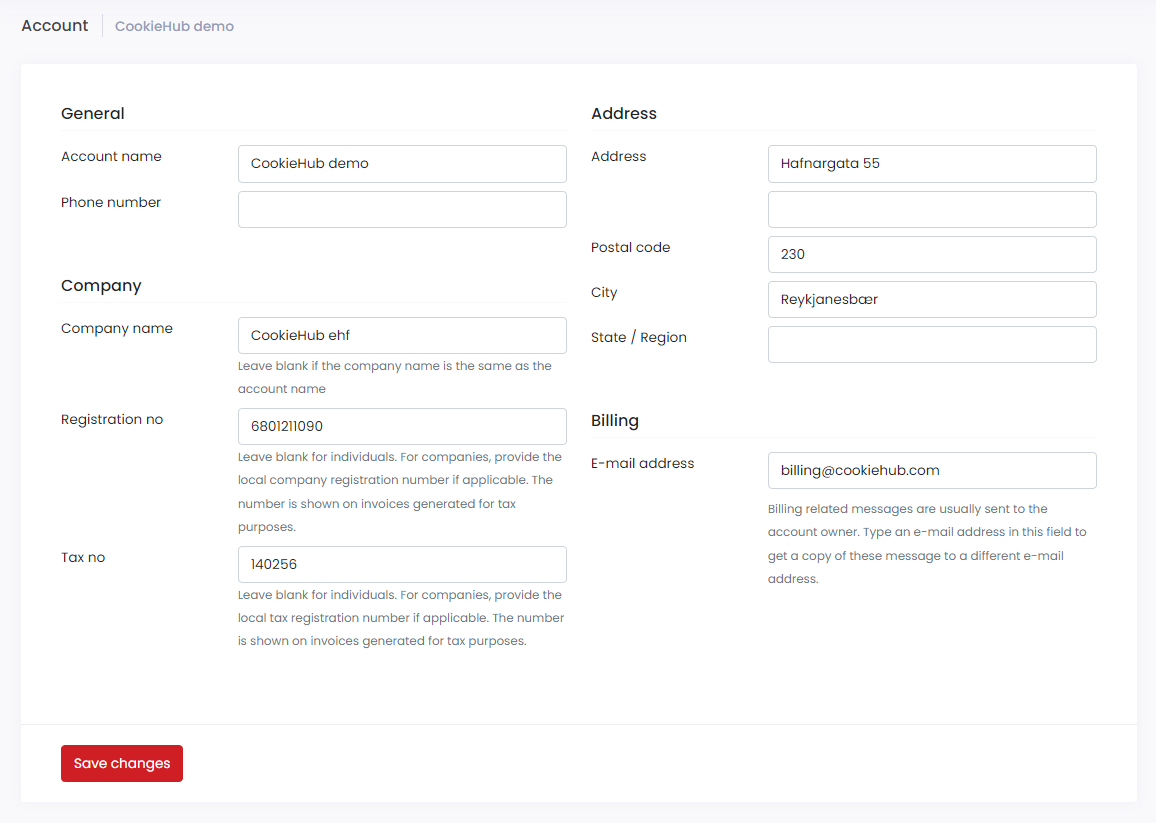
To modify your account settings, navigate to the Accounts link in the main menu. From there, you can make changes to several account details, such as the account display name, registration number, tax number, address, and billing email address.
If you provide a billing email address in your account settings, all billing-related email notifications will be sent to both the account owners and the specified email address.
Once you update the company name, registration number, VAT number, or address in your account settings, the information will be automatically reflected in all previous invoices and any future invoices generated. If you need to access your updated invoices, you can redownload them from the Billing section of your account.
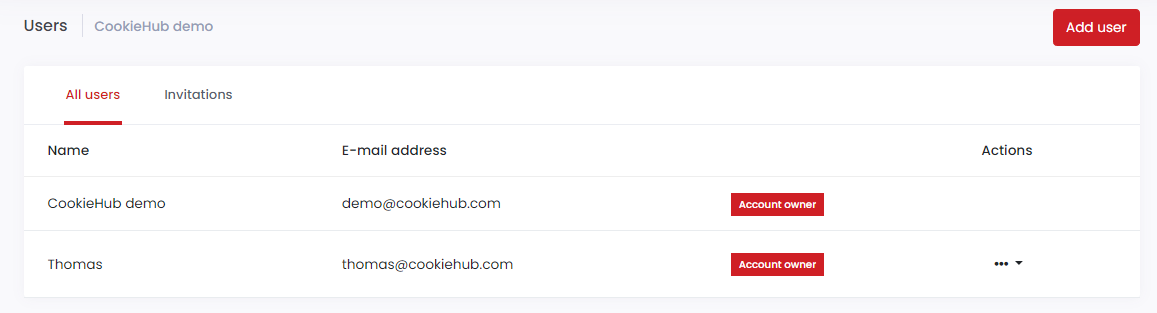
Users
CookieHub allows you to manage multiple users for your team. You can create new users, update existing users and assign roles to them.
There are two roles available for users:
- Account owner: Can access all features and settings for the account.
- Standard user: Can only manage domains in the account.
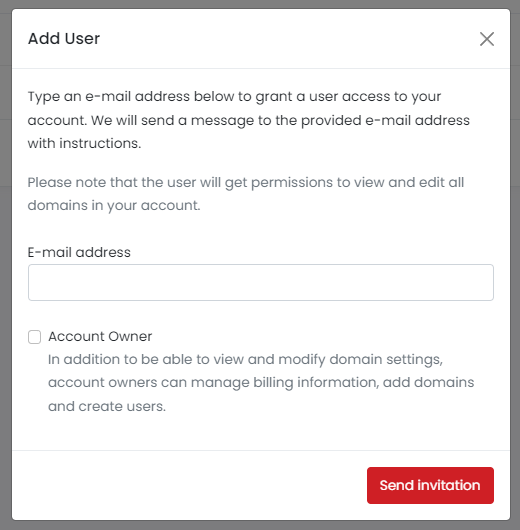
Invite users
To add a new user, click on the “Add User” button on the Users page. You will need to enter the user’s email address and select a role for them. Once you have added the user, they will receive an email with a link to set their password and access the account.
Manage permissions
To change a user’s role, click the three dots located next to the user’s name and then select either “Convert to Standard Account” or “Convert to Account Owner”.
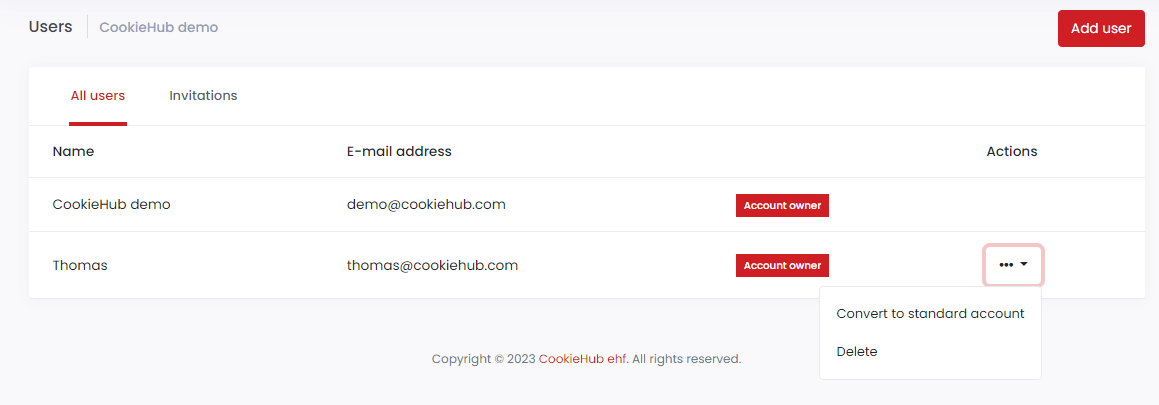
Delete user
To remove a user, click on the three dots next to the user on the Users page and then click on the “Delete” button. Please note that once a user is removed, they will no longer have access to your account but the user will remain in the system and is able to control other accounts.
API keys
The API keys section is available for customers with enterprise subscriptions and can be accessed from the Account dropdown in the top menu by clicking the API keys link. This section allows you to generate and manage API keys that can be used to access CookieHub’s API.
API keys are unique identifiers that allow you to securely connect to CookieHub’s API, which enables you to programmatically manage and retrieve data from your CookieHub account. This can be useful for automating tasks, integrating with third-party tools, or building custom applications.
In the API keys section, you can view all of your existing API keys, generate new ones, and revoke keys that are no longer needed. You can also view information about each key, such as its name, creation date, and last used date.
Note that API keys are a sensitive resource and should be kept confidential. Be sure to store your keys securely and never share them with unauthorized parties. Additionally, be sure to follow best practices for securing your API requests, such as using HTTPS and properly authenticating your requests.
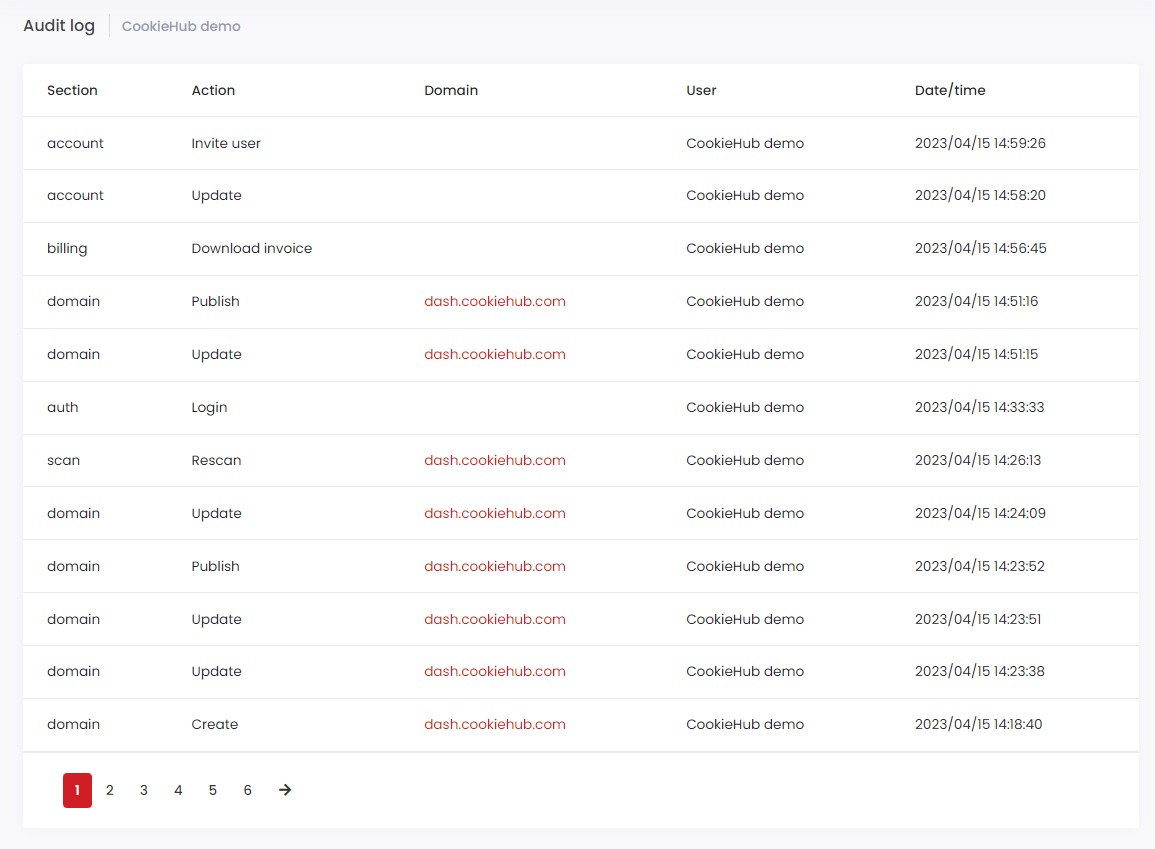
Audit log
The Audit log feature is available to customers with an enterprise subscription and allows you to track and monitor user activity within your account. You can access the Audit log by clicking on the Account dropdown in the top menu and selecting Audit log.
The Audit log provides a detailed history of actions taken within your account, including user logins, permission changes, and updates to settings. With this information, you can identify potential security risks and ensure compliance with your organization’s policies.