Additional Consent
If you have tags in your Google Tag Manager container that don’t offer built-in consent, you’ll need to manually select the correct category as additional consent and update the firing triggers for each tag.
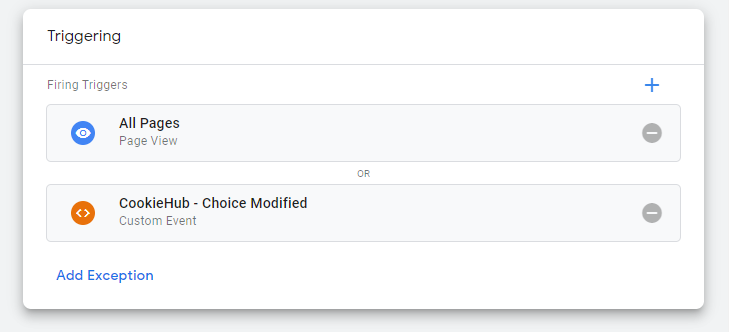
Note that tags using additional consent will work normally without any changes to the triggers. However, if you are using “Page view” triggers, the tags won’t be triggered on the first page view if the user hasn’t accepted the assigned cookie category. To work around this, you can add the CookieHub - Choice modified trigger as an additional firing trigger, which will ensure that the tag is always fired on every page.
It’s important to note that you should not configure additional consent for tags that already have built-in consent mode support, including the CookieHub tag and Google Analytics. These tags will automatically respect the user’s consent preferences and work correctly without any additional configuration.
Creating the “CookieHub - Choice Modified” Trigger
If you’ve installed the CookieHub GTM template from the community template gallery, you’ll need to manually create the “CookieHub - Choice Modified” trigger for tags that require additional consent. If this trigger already exists in your GTM container, you can skip these steps.
- Navigate to the Triggers section of your Google Tag Manager container and click “New.”
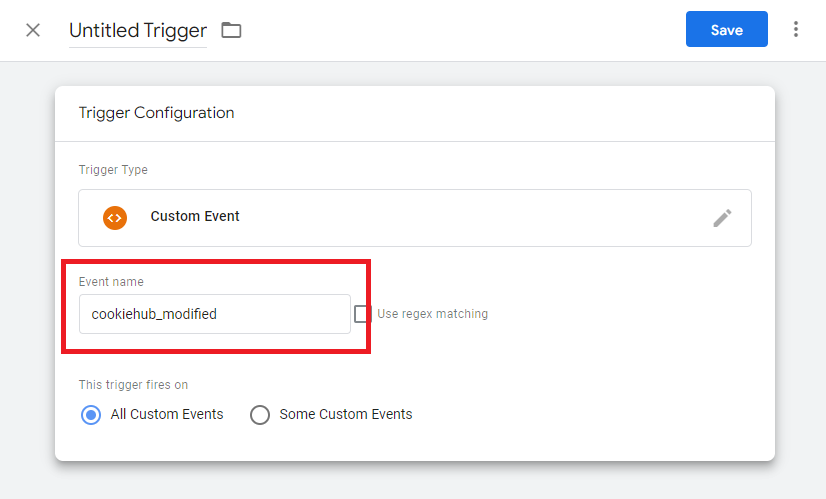
- Click on the “Trigger Configuration” section and select “Custom Event” from the “Other” section.
- In the “Event Name” textbox, type “cookiehub_modified”. No further changes are needed.
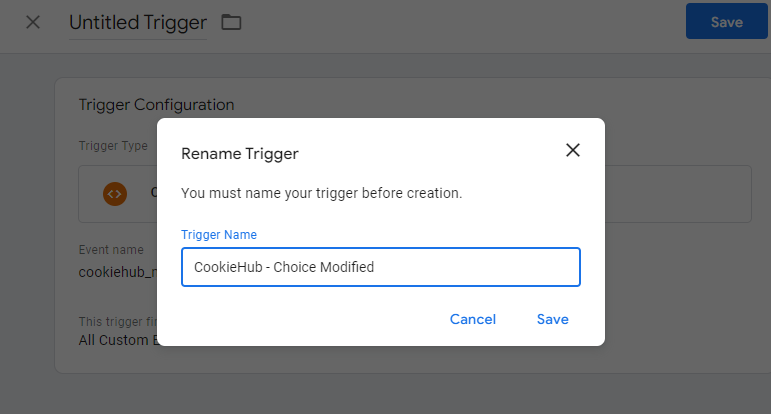
- Click “Save” at the top right corner.
- For the Trigger Name, type “CookieHub - Choice Modified” and then click “Save”.
Configuring additional consent
To set up additional consent for your current tags, follow these steps:
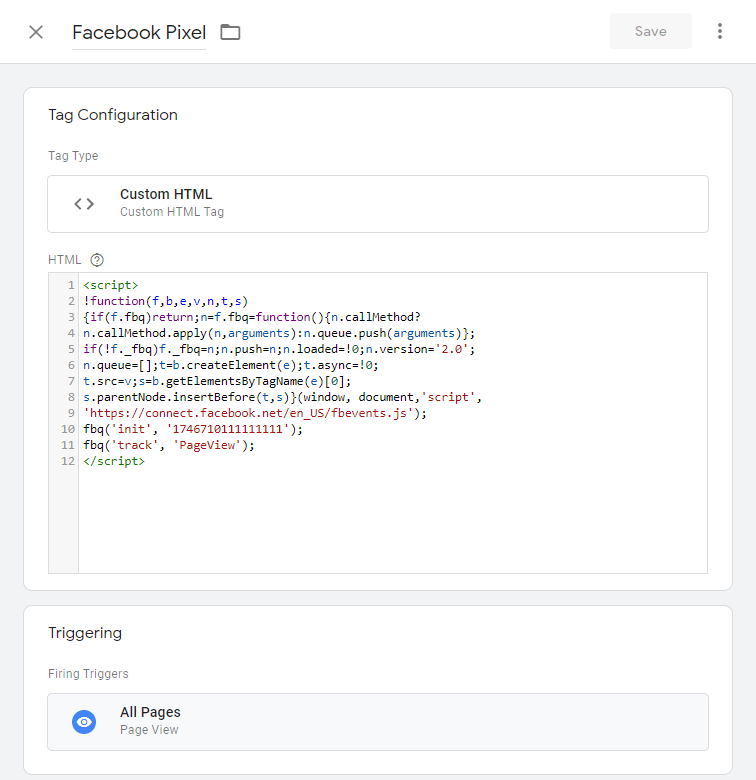
- Go to the Tags section of your Google Tag Manager container and select the tag for which you want to enable additional consent. For example, let’s use the Facebook Pixel tag.
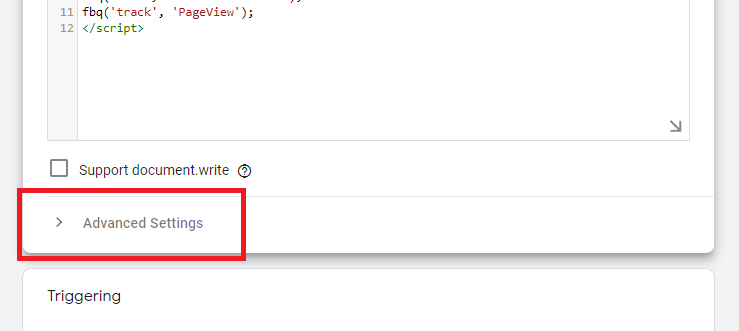
- Click on the Tag Configuration section.
- Expand the Advanced Settings option.
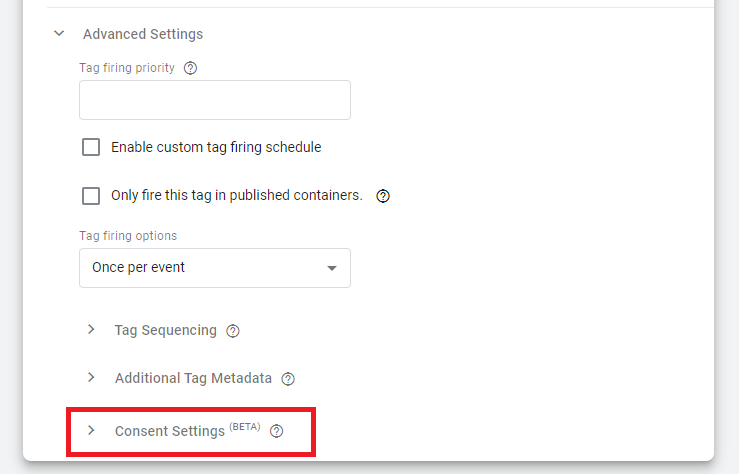
- Expand the Consent Settings option.
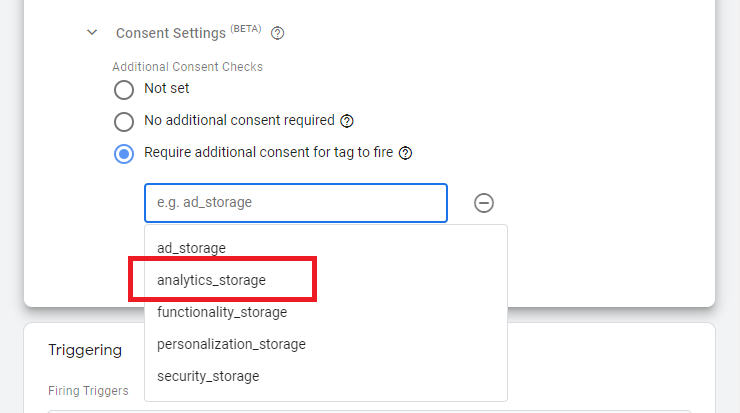
- Check the box for Require additional consent for tag to fire and select the cookie category you want to assign this tag to. For example, let’s use the analytical category named “analytics_storage” in Google Tag Manager.
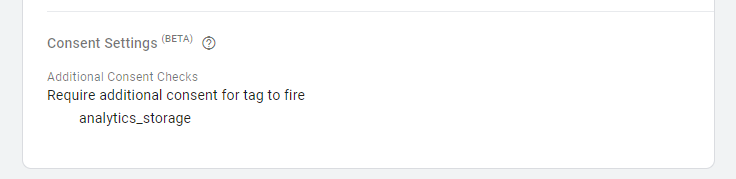
- After confirming your selection by clicking outside the Tag Configuration section, the configuration should look like this:
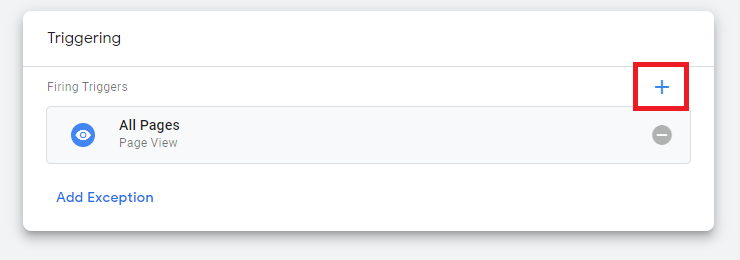
- Next, modify the firing triggers by clicking on the Triggering section.
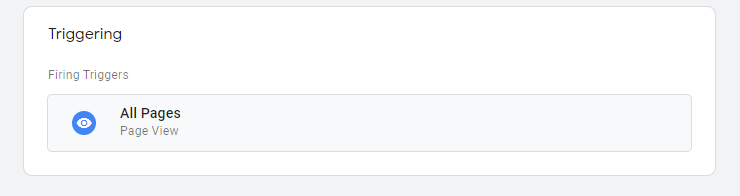
- Add a new trigger by clicking the + icon.
- Select the CookieHub - Choice modified trigger from the list of triggers.
 After following these steps, your tag will be fired when either of the two triggers match the Google Tag Manager conditions.