
How to install CookieHub manually using an HTML tag
If you are currently using Google Tag Manager or WordPress, we recommend following these dedicated guides instead:
This guide explains how to manually implement CookieHub using an HTML tag.
Installation instructions
- Log in to your CookieHub dashboard.
- If you already have a domain, select it. Otherwise, click Add to create a new domain.
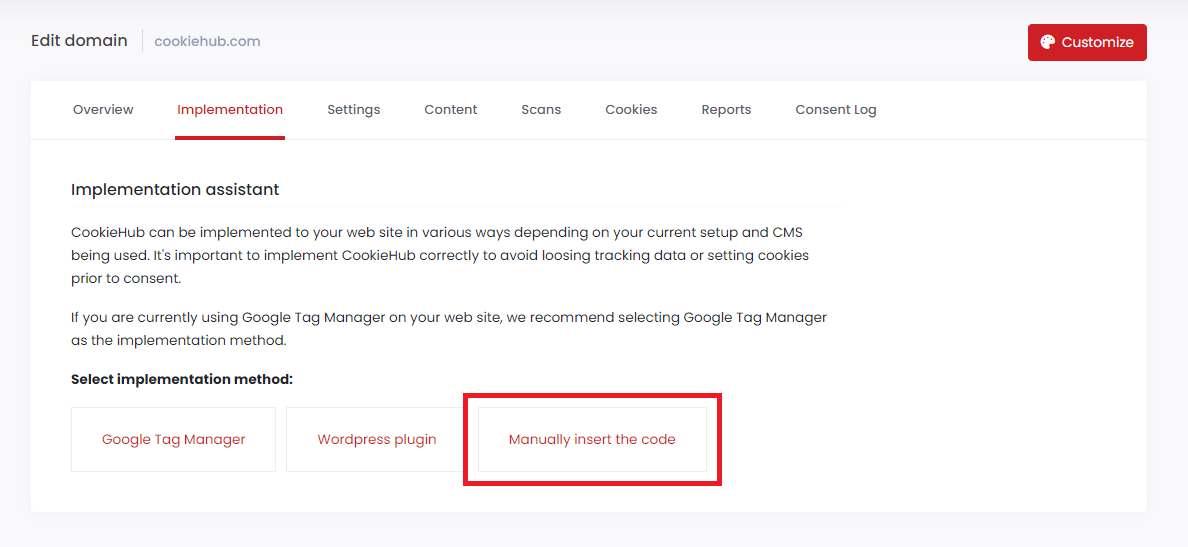
- Go to the Implementation tab.
-
Select Manually insert the code.
-
Copy the provided production code snippet.
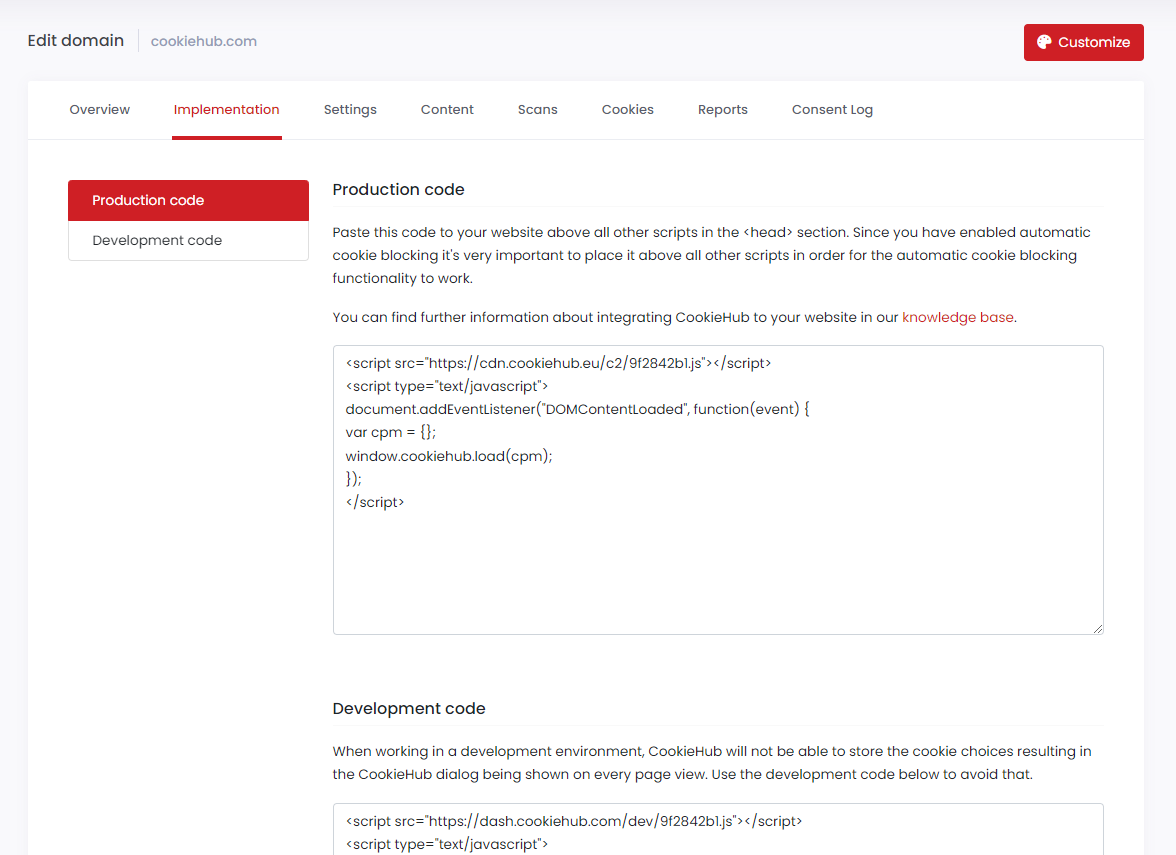
- Paste the code at the top of the
<head>tag on your website.


Why top of the <head> ?
If you use Automatic Cookie Blocking or Google Consent Mode, the code must load before other scripts to block tracking until consent is given.
If you are not using these features, the code can be placed anywhere in <head> or <body> .
How to insert the code on your site
Add the CookieHub code to all pages of your website. Most CMS platforms allow you to edit a common template or header section. Look for a Header or Head HTML option in your CMS settings.
Adjusting scripts and tags
Once CookieHub is installed, you must ensure third-party scripts (analytics, ads, video embeds, etc.) respect consent.
- If Automatic Cookie Blocking is enabled, CookieHub handles most popular services automatically.
-
For other services, manually adjust scripts using HTML attributes (
data-consent,data-src,type="text/plain").See How to use conditional HTML tags and placeholders for full instructions.
How to verify setup
- Run a cookie scan in the CookieHub dashboard.
- The scan checks whether cookies are set before consent.
- After completion, view the scan report in the dashboard or by email.