
How to configure Matomo Tag Manager with CookieHub
With CookieHub, you can easily configure Matomo Tag Manager to comply with GDPR, CCPA, and other privacy regulations. This guide explains how to implement CookieHub and configure your Matomo tags to respect user consent.
Step 1: Implement CookieHub
CookieHub does not need to be implemented through Matomo for the integration to work. If you have already installed CookieHub using another method (such as manual HTML or Google Tag Manager), you can skip this step.
To install CookieHub through Matomo Tag Manager:
-
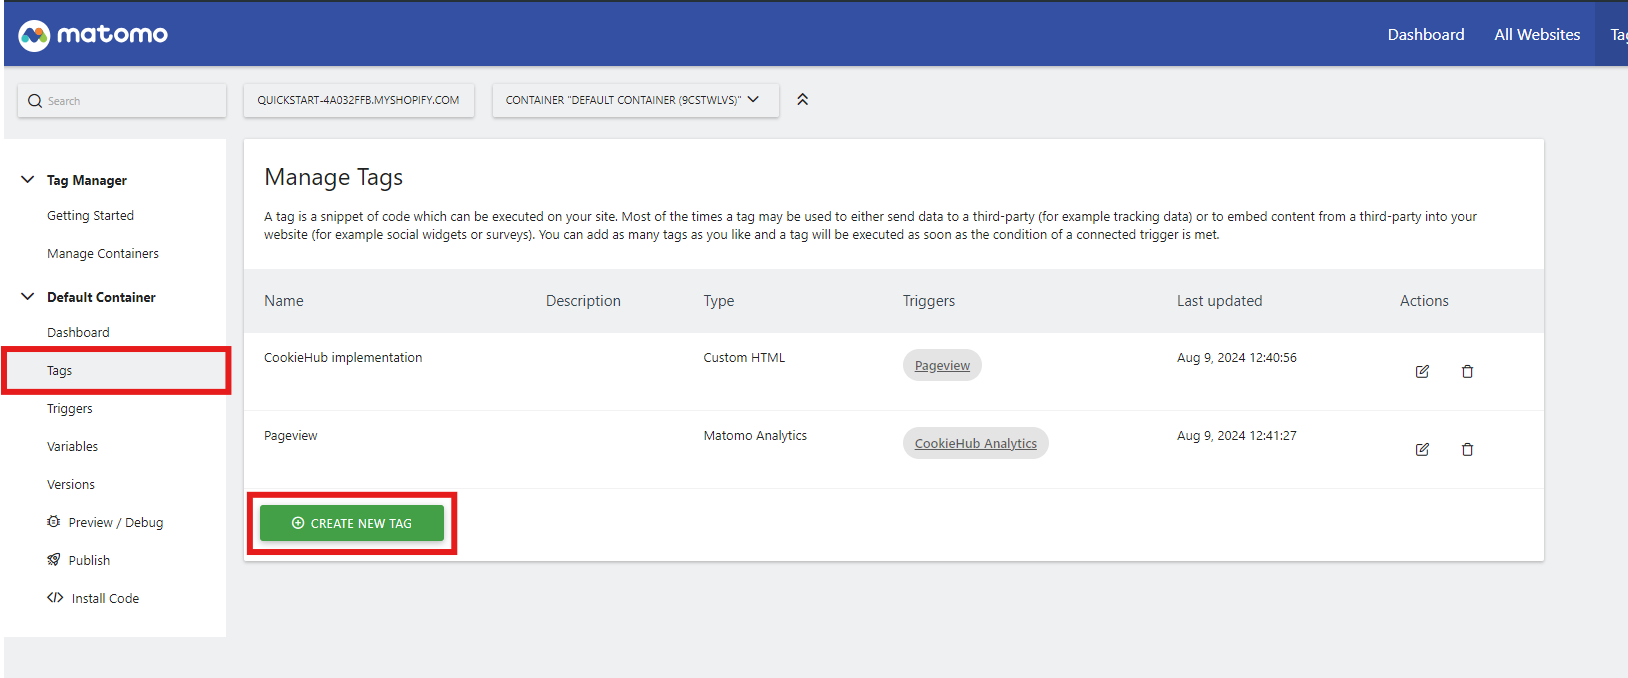
Log in to your Matomo portal and open the Tag Manager section.

-
Go to Tags and click Create a new tag.
-
Select Custom HTML as the tag type.

- Name the tag (e.g., CookieHub Implementation).
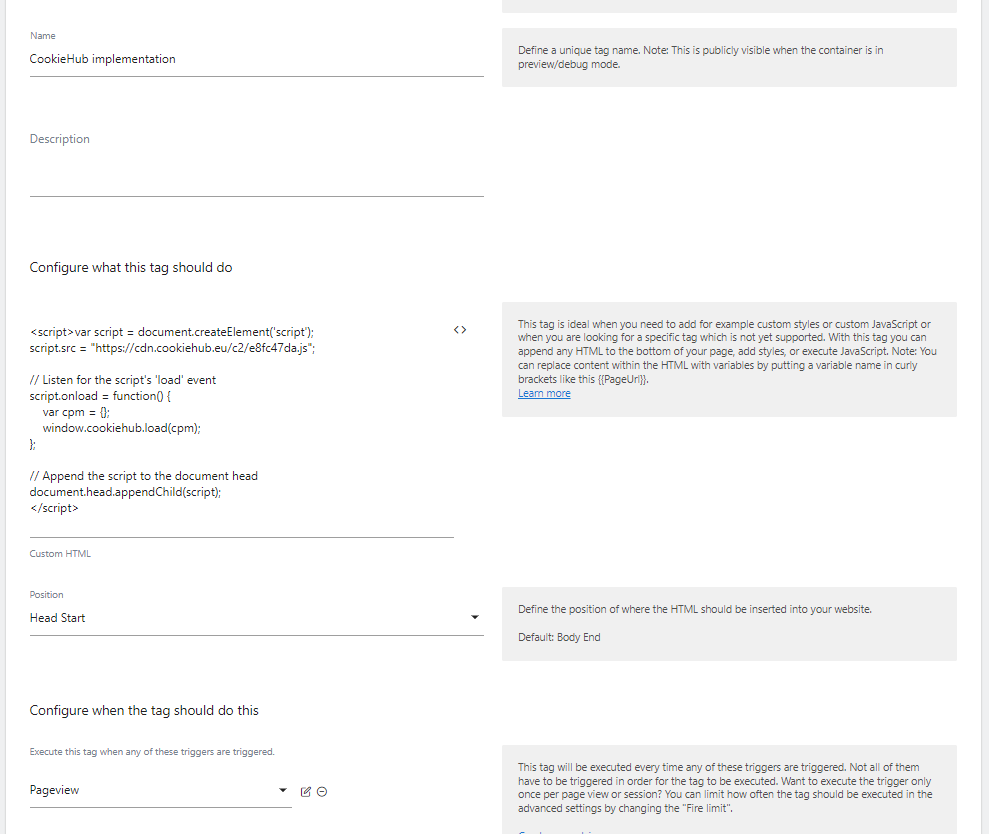
- Paste the following script, replacing
XXXXXXXXwith your CookieHub Domain Code:


<!-- CookieHub -->
<script>
    var script = document.createElement('script');
    script.src = "https://cdn.cookiehub.eu/c2/XXXXXXXX.js";
    script.onload = function() {
        var cpm = {};
        window.cookiehub.load(cpm);
    };
    document.head.appendChild(script);
</script>
<!-- End CookieHub -->
- For Position, select Head Start.
-
In the Configure when the tag should do this section, choose the Page View trigger and set it to Execute when any of these triggers are triggered.
- Click CREATE NEW TAG.
- Your CookieHub implementation tag has now been created. Once the changes have been published in Matomo, your CookieHub banner will appear.

Step 2: Configure Matomo tags to honor user consent
CookieHub publishes events when consent is given or when it loads with previously saved consent. To ensure Matomo tags only fire when the user has given consent, you must create custom event triggers in Matomo.
Create triggers for the events:
cookiehub_analytics– fires when the Analytics category is allowed.cookiehub_marketing– fires when the Marketing category is allowed.
Create a custom trigger in Matomo:
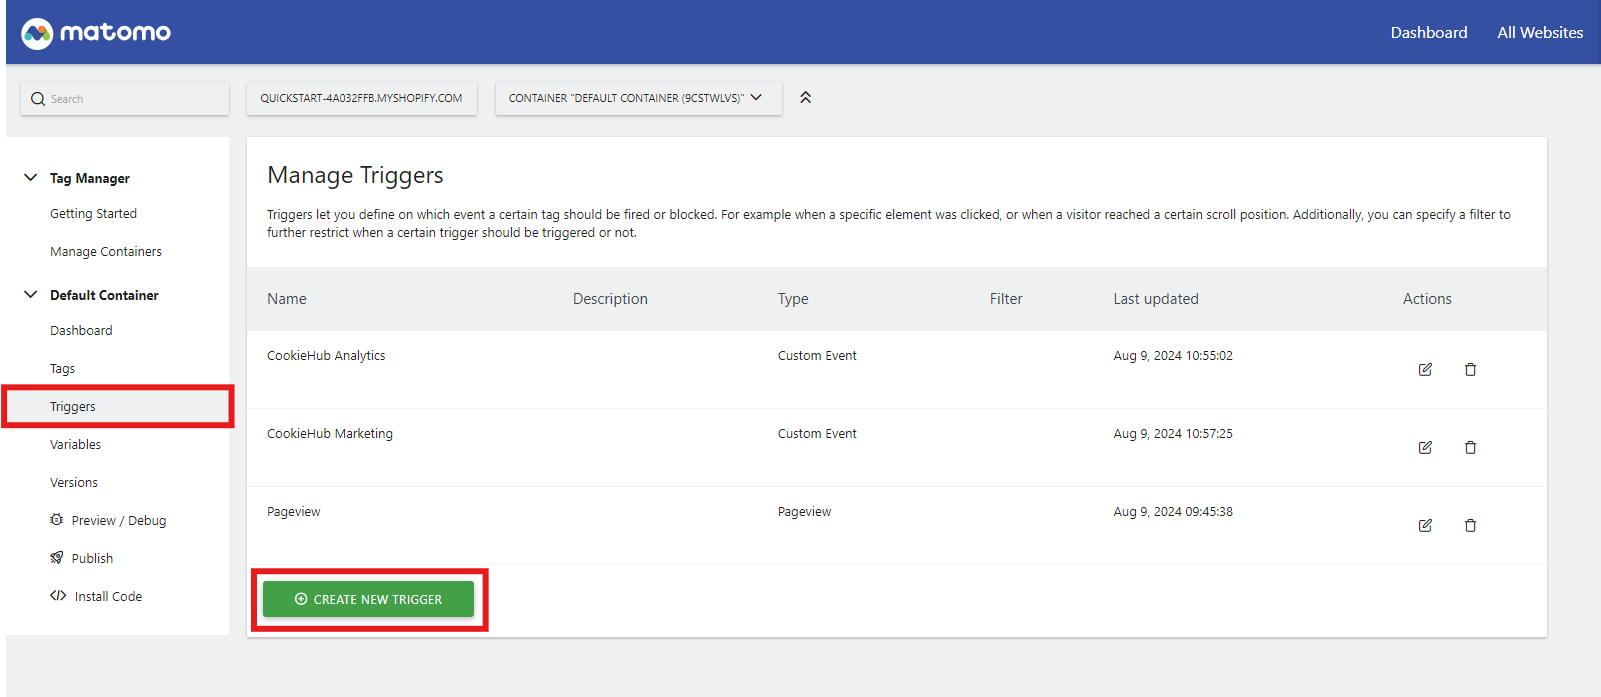
- Go to Triggers in your Matomo Tag Manager container.
-
Click Create a new trigger.
-
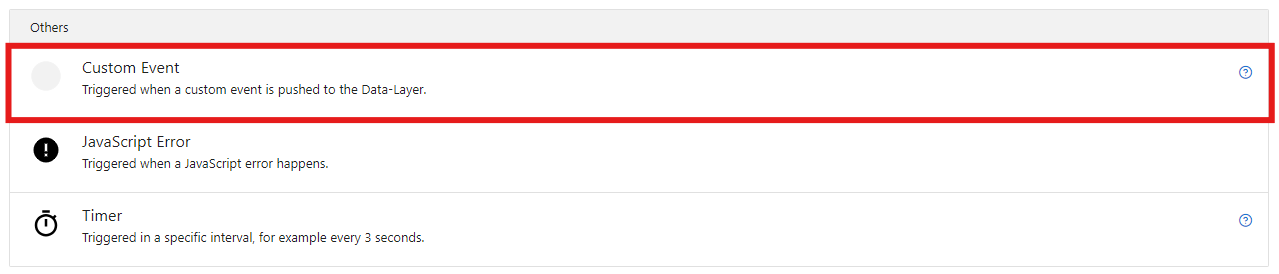
Choose Custom Event as the trigger type.
- Name the trigger (e.g., CookieHub Analytics).
-
In Event Name, enter:
cookiehub_analytics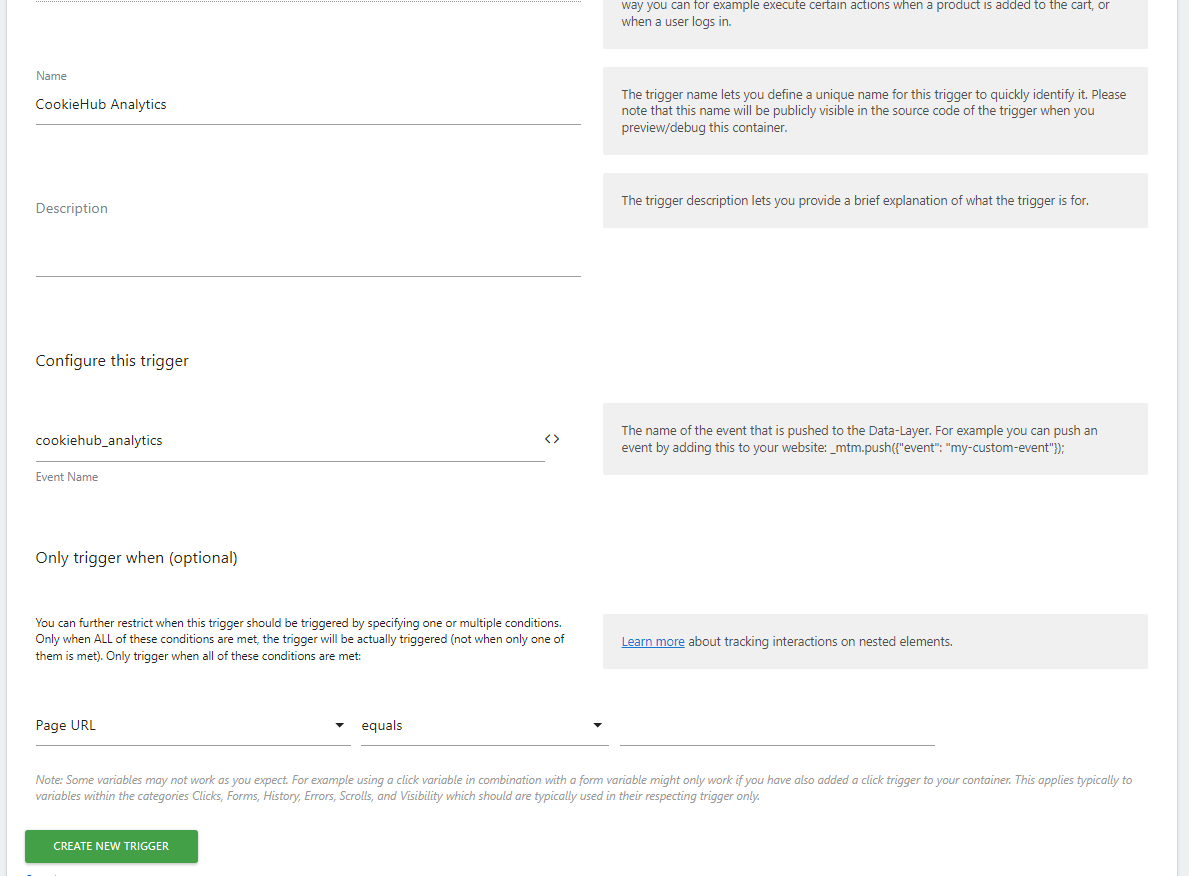
- Click CREATE NEW TRIGGER.
- Repeat the steps to create another trigger for Marketing using:
cookiehub_marketing


Your Analytics and Marketing triggers are now ready.
Update your Matomo tags
For any tracking tags that require consent:
- Remove the default Page View trigger.
- Add the appropriate CookieHub trigger (e.g., CookieHub Analytics or CookieHub Marketing).
This ensures that tags only fire when the user gives consent for that category.
Important note about other tracking scripts
This only applies when CookieHub is implemented through a Matomo tag:
- The CookieHub autoblocker does not work in this scenario because Matomo loads asynchronously, meaning other scripts might load before CookieHub is ready.
- To prevent this, you must manually mark up external scripts using Conditional HTML tags to block them until consent is granted.